
Pixel 9 eSIM Setup for Backpackers: Your Free Guide to Data Abroad 2026
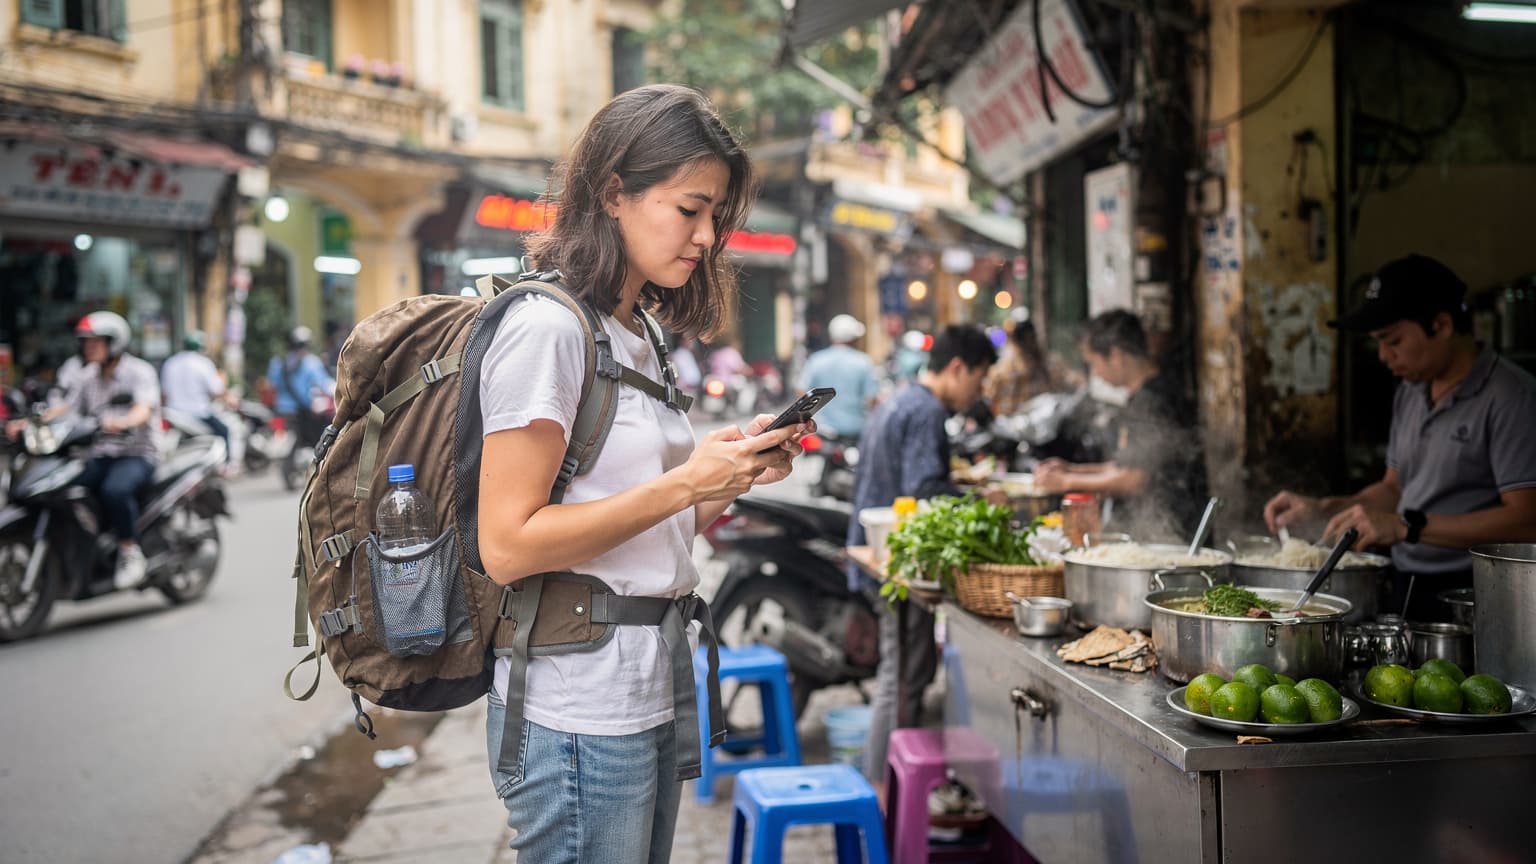
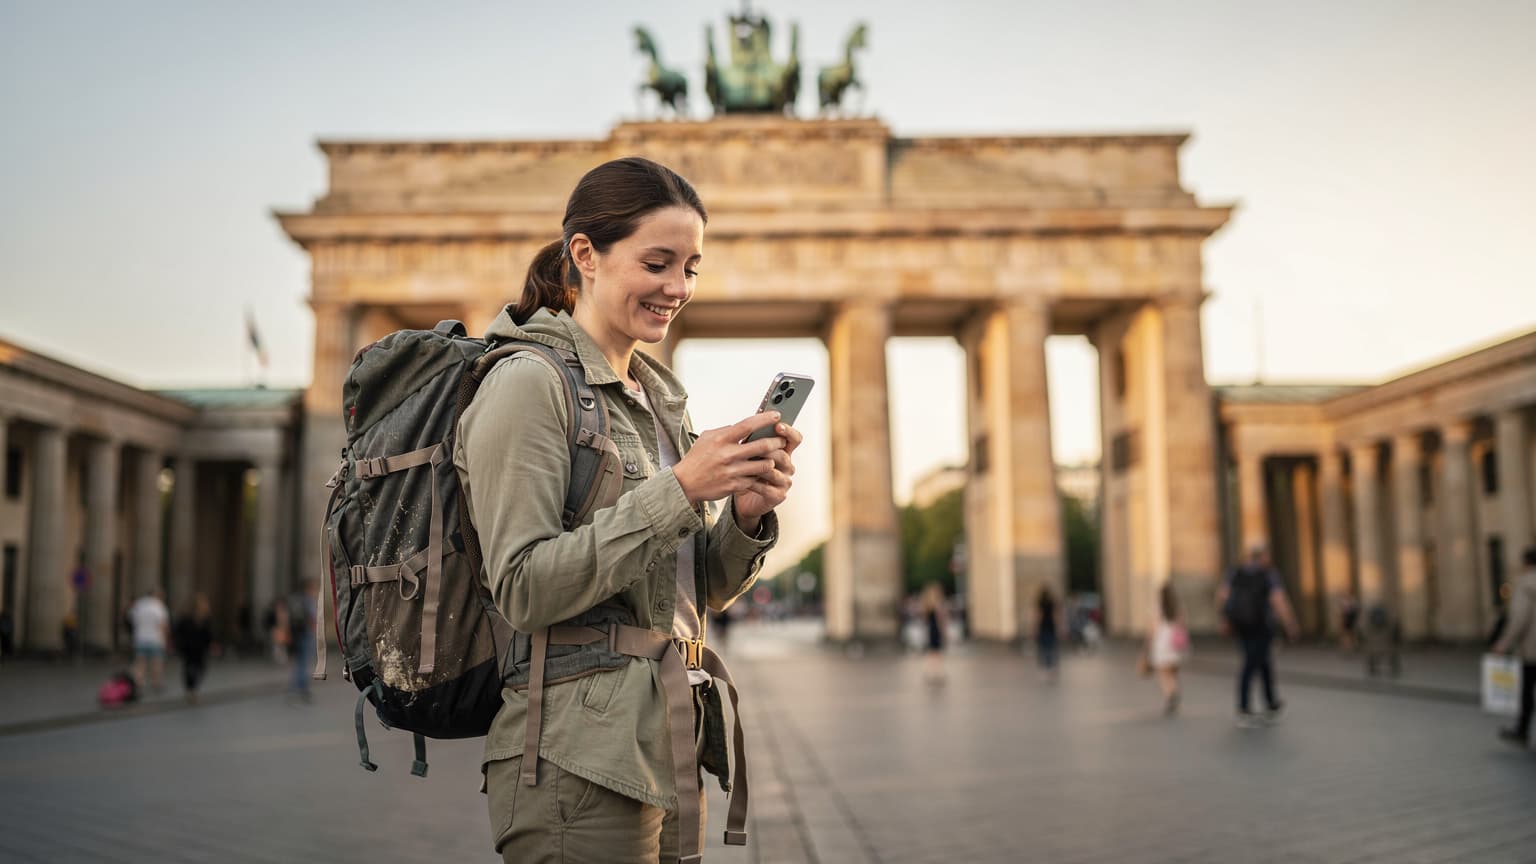
Hey there, fellow adventurers! Planning your epic backpacking trip for 2026 and wondering how to stay connected without breaking the bank or wrestling with tiny SIM cards in dusty hostels? You've come to the right place. The Google Pixel 9, with its advanced eSIM capabilities, is a game-changer for international travel, and in this comprehensive guide, we're going to walk you through everything you need to know to get set up for seamless data abroad.
Forget the days of hunting down local SIM card vendors, dealing with language barriers, or paying exorbitant roaming fees. With an eSIM, your data plan is digital, downloaded directly to your phone. It's convenient, cost-effective, and incredibly flexible, making it the perfect companion for backpackers who are always on the move.
Why the Pixel 9 and eSIM are a Backpacker's Best Friend
Before we dive into the nitty-gritty of setup, let's talk about why the Pixel 9, combined with eSIM technology, is an absolute must-have for your 2026 travels.
No Physical SIM Cards, No Fuss
This is the big one. Traditional SIM cards are small, easy to lose, and a pain to swap out. With an eSIM, there's nothing physical to manage. You simply activate a plan digitally, and you're good to go. This means no more fiddling with ejector tools at airport customs or worrying about losing your home SIM.
Dual SIM Functionality (eSIM + Physical SIM)
The Pixel 9 typically supports both a physical SIM card and an eSIM simultaneously. This is incredibly useful for backpackers. You can keep your home country's physical SIM active for occasional calls or texts (if you still need that number) while using an eSIM for all your data needs abroad. This provides the best of both worlds without the hassle of two physical cards.
Flexibility and Instant Activation
eSIMs offer unparalleled flexibility. You can purchase a data plan online before you even leave home, activate it upon arrival, or even switch providers mid-trip if you find a better deal. Activation is often instant, meaning you can step off the plane and immediately have data, ready to navigate to your hostel or call a ride-share.
Cost-Effective Data
Roaming charges from your home carrier can be eye-watering. Local physical SIMs can be cheap, but finding them and setting them up in every new country adds time and effort. eSIMs, especially those from dedicated travel eSIM providers like CheapESIM, often offer competitive rates for international data, sometimes even cheaper than local physical SIMs, especially for shorter stays or multi-country trips.
Getting Started: What You Need Before You Go
Preparation is key to a smooth eSIM experience. Here's your checklist before you embark on your adventure.
Ensure Your Pixel 9 is Unlocked
This is crucial. If your Pixel 9 is locked to a specific carrier (e.g., if you bought it on a contract), you won't be able to use eSIMs from other providers. Contact your home carrier well in advance to ensure your phone is unlocked. Most carriers will unlock your phone once your contract is fulfilled or if you request it.
Stable Wi-Fi Connection
You'll need a stable internet connection (preferably Wi-Fi) to download and activate your eSIM profile. While you can often do this at the airport, it's always best to have it ready before you land or at least ensure you have access to reliable Wi-Fi upon arrival.
Choose Your eSIM Provider (Consider CheapESIM!)
There are many eSIM providers out there. For backpackers, look for providers that offer:
- Global or Regional Plans: If you're visiting multiple countries, a regional plan (e.g., Europe-wide, Asia-wide) can be more convenient than buying individual country plans. CheapESIM, for instance, offers excellent regional options.
- Flexible Data Packages: From small bundles for light use to unlimited data for heavy streamers.
- Clear Pricing and No Hidden Fees: Always read the fine print.
- Easy Activation Process: QR code scanning is the simplest method.
- Good Customer Support: In case you run into any issues abroad.
Providers like CheapESIM specialize in travel eSIMs, making them an excellent choice for backpackers due to their wide coverage and straightforward plans. They often have specific packages tailored for different regions and trip lengths.
Download the Provider's App (Optional but Recommended)
Many eSIM providers, including CheapESIM, have dedicated apps that make managing your plan, topping up data, and getting support much easier. Download it before you leave!
Step-by-Step Pixel 9 eSIM Setup Guide
Alright, let's get your Pixel 9 ready for global connectivity. The process is straightforward, but following these steps will ensure a smooth setup.
1. Purchase Your eSIM Plan
Head to your chosen eSIM provider's website or app (like CheapESIM) and select the data plan that suits your travel needs. Pay for it, and you'll typically receive an email with your eSIM activation details, usually a QR code or a manual activation code.
2. Access Your Pixel 9's Network Settings
On your Pixel 9, navigate to:
- Settings
- Network & internet
- SIMs
3. Add Your eSIM
In the SIMs menu, you'll see an option like "Download a SIM" or "Add eSIM." Tap on this. Your Pixel 9 will then ask you if you want to use a QR code or enter it manually.
4. Scan the QR Code (Recommended)
If you received a QR code from your provider (most common for CheapESIM and others), select the "Scan QR code" option. Your phone's camera will open. Point it at the QR code displayed on your computer screen or another device. Make sure the code is well-lit and in focus. Your Pixel 9 should quickly detect and start downloading the eSIM profile.
5. Manual Activation (If No QR Code)
If you don't have a QR code, choose the "Enter it manually" option. You'll need to input the SM-DP+ Address and Activation Code provided by your eSIM carrier. Be very careful to enter these accurately.
6. Label Your eSIM
Once the eSIM profile is downloaded, your Pixel 9 will prompt you to give it a name. This is super helpful, especially if you plan to use multiple eSIMs. Label it clearly, e.g., "CheapESIM Europe" or "Thailand Data."
7. Set Your Preferred SIM for Data
After successful installation, go back to the "SIMs" menu. You'll now see your new eSIM listed alongside any physical SIM you might have. Tap on your new eSIM and ensure "Turn on SIM" is toggled on. Then, under "Mobile data," select your new eSIM as the preferred SIM for data. You can also specify which SIM to use for calls and texts if you have a physical SIM.
8. Enable Roaming (If Required)
Some eSIM plans require you to enable data roaming. Check your provider's instructions. If needed, go to your new eSIM's settings within the "SIMs" menu and toggle on "Roaming."
9. Test Your Connection
Once you arrive at your destination (or if you've already arrived), disable Wi-Fi and try to browse the internet. If you can load webpages, send messages, and use apps, you're all set! If not, check the troubleshooting tips below.
Troubleshooting Common eSIM Issues
While eSIMs are generally reliable, sometimes minor hiccups occur. Here's how to troubleshoot them.
No Data Connection
- Check "Turn on SIM": Ensure your eSIM is turned on in your Pixel 9's "SIMs" settings.
- Data Roaming: Confirm data roaming is enabled for your eSIM, especially if your plan requires it.
- APN Settings: Sometimes, you might need to manually configure the Access Point Name (APN) settings. Your eSIM provider (like CheapESIM) will give you these details if necessary. Go to Settings > Network & internet > SIMs > [Your eSIM] > Access Point Names.
- Restart Your Phone: The classic fix. A quick restart can often resolve minor network glitches.
- Network Selection: Sometimes, your phone might try to connect to a weaker network. You can try manually selecting a network operator. Go to Settings > Network & internet > SIMs > [Your eSIM] > Network > Automatically select network. Try toggling this off and choosing a network manually.
eSIM Not Activating
- Stable Wi-Fi: Ensure you have a strong, stable Wi-Fi connection during the download process.
- QR Code Scan: Make sure the QR code is clear, well-lit, and you're holding your phone steady.
- Manual Entry: Double-check every character if you're entering the details manually. Even a single typo will prevent activation.
- Provider Support: If all else fails, contact your eSIM provider's (e.g., CheapESIM's) customer support. They can often diagnose activation issues.
Maximizing Your Data Abroad with CheapESIM and Pixel 9
Now that you're connected, here are some pro tips for making the most of your Pixel 9 and CheapESIM eSIM on your backpacking adventure.
Monitor Your Data Usage
Keep an eye on your data consumption. Your Pixel 9 allows you to monitor data usage per SIM card. Go to Settings > Network & internet > SIMs > [Your eSIM] > App data usage. This helps you avoid running out unexpectedly. CheapESIM's app will also provide real-time usage updates.
Download Offline Maps
Before heading out for the day, download offline maps for your current location using Google Maps. This way, even if you lose signal, you can still navigate.
Utilize Wi-Fi When Available
Always connect to free, secure Wi-Fi networks in hostels, cafes, or public spaces for heavy data tasks like video calls, large downloads, or streaming. This conserves your valuable eSIM data.
Turn Off Background App Refresh
Many apps consume data in the background. Go to your Pixel 9's app settings and restrict background data usage for non-essential apps to save data.
Consider a VPN for Public Wi-Fi
When using public Wi-Fi, especially in hostels or cafes, a Virtual Private Network (VPN) is highly recommended to protect your personal data and maintain privacy.
Final Thoughts for Your 2026 Adventure
The Pixel 9 combined with the power of eSIM technology is truly a game-changer for backpackers. By following this guide, you'll be able to set up reliable, affordable data abroad, keeping you connected for navigation, communication, and sharing those incredible travel moments.
Whether you're exploring ancient ruins, hiking majestic mountains, or simply finding your next hostel, knowing you have a reliable data connection through your CheapESIM eSIM on your Pixel 9 provides immense peace of mind. So go forth, explore, and stay connected!