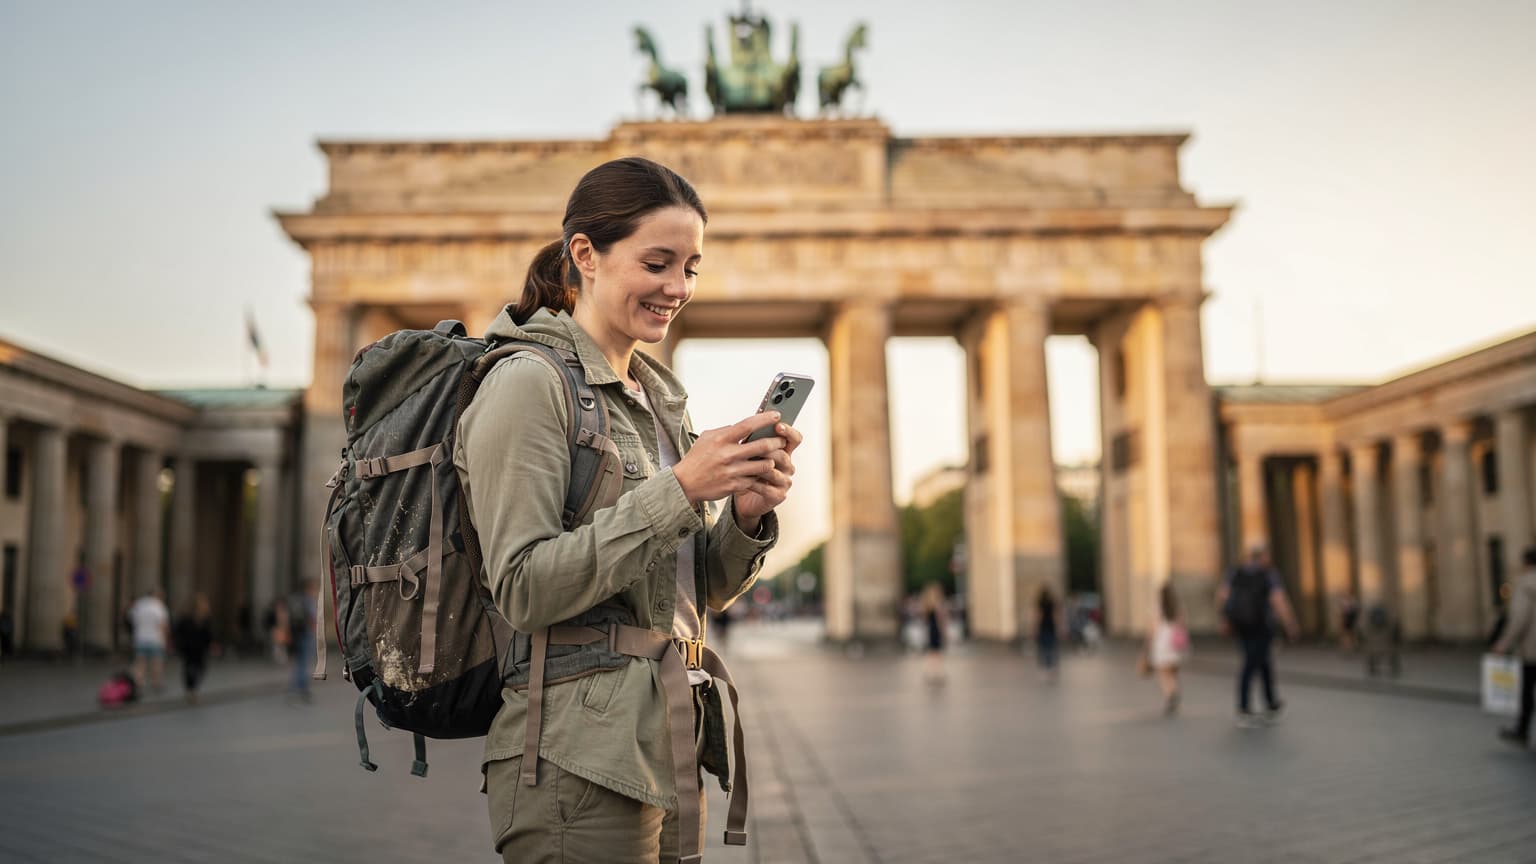
eSIM on iPhone 17: The Basics for Budgeteers
So, you've got the shiny new iPhone 17. Good for you. Now, let's make sure it doesn't cost you an arm and a leg when you travel. The biggest money-saver here is the eSIM, which is essentially a digital SIM card embedded directly into your phone. No more fumbling with tiny plastic cards, no more searching for local phone shops after a 14-hour flight. Your iPhone 17 is fully equipped to handle multiple eSIMs, meaning you can keep your home number active for calls and texts (if you still have one, like me, mostly for two-factor authentication) while using a separate eSIM for cheap data abroad.
Think of it as having two phone lines in one device. Your primary line, let's say from AT&T or Vodafone UK, stays active, but you switch its data usage off. Then, you activate a travel data plan on your eSIM, ensuring all your internet traffic goes through the cheaper local network. This setup is crucial for avoiding those nasty roaming charges that can hit €10-€20 a day, especially if you forget to turn off data roaming from your home provider.
For instance, on my last trip through Morocco, I activated a 10GB eSIM for €18. My friend, who was with me and hadn't prepped, paid €15/day for 500MB from his home carrier. Over a week, that's €105 versus my €18. You do the math, it's a no-brainer.
What is an eSIM and Why It Matters for Your Wallet
An eSIM is a tiny chip soldered right into your iPhone 17's motherboard. Instead of physically swapping out a SIM card, you download a profile digitally. This profile contains all the network information you need. It's not just convenient, it's a game-changer for budget travel. You can buy an eSIM plan online before you even pack your backpack, meaning you land with data already active. No more haggling prices at sketchy airport kiosks or trying to find a legitimate vendor in a new city.
The iPhone 17 supports multiple eSIM profiles. This is huge. You can have your primary line, a travel eSIM for Southeast Asia, another for Europe, and maybe even a third for a specific country you frequent, all stored on the same device. When you cross borders, you simply switch between profiles in your settings. This flexibility is what allows you to always pick the most cost-effective option without hassle.
iPhone 17 eSIM Compatibility: A Quick Check
If you have an iPhone 17, rest assured, it's fully eSIM compatible. Apple has been pushing eSIM technology for years, making it the standard for their newer models, especially those sold in the US market which are often eSIM-only. This means no physical SIM tray, simplifying your travel connectivity even further. If you bought your iPhone 17 outside the US, it might still have a physical SIM slot, which offers you even more flexibility, though I find relying solely on eSIMs to be less of a headache.
The key is to understand that your phone is ready. The next step is knowing how to leverage this tech for maximum savings. Don't let your phone's capabilities go to waste by sticking with old, expensive roaming habits.
Choosing the Right eSIM Plan for Your Trip
This is where the real strategizing comes in. Not all eSIM plans are created equal, and picking the right one can save you euros. You need to consider how much data you actually use, how long you'll be traveling, and which countries you'll visit.
First, be realistic about your data needs. Are you just checking maps and WhatsApp, or are you streaming Netflix on night buses? Second, multi-country plans often look attractive, but sometimes buying individual country-specific plans is cheaper if you're only spending a few days in each place. For example, a 30-day regional plan for Southeast Asia might cost €30 for 10GB. But if you're only in Thailand for 5 days and then Malaysia for 5 days, two separate 5GB country-specific plans at €7 each could be cheaper and give you better local coverage.
| Usage Type | Estimated Daily Data (MB) | Cost Impact (per GB) |
|---|---|---|
| Google Maps & Navigation | 50-100 MB | Low |
| WhatsApp & Messaging | 20-50 MB | Very Low |
| Social Media (light browsing) | 100-200 MB | Medium |
| Video Streaming (SD) | 500-1000 MB (per hour) | High |
| Video Calls (WhatsApp/Zoom) | 300-500 MB (per hour) | Medium-High |
| Email & Light Web Browsing | 50-100 MB | Low |
Always check the fine print: some plans offer unlimited data but throttle speeds after a certain cap, which is fine for emails but terrible for uploading photos to your blog. Others might restrict hotspot usage. Knowing your travel style helps you pick the most efficient plan.
Regional vs. Single-Country eSIMs
This is a common dilemma for backpackers. Regional eSIMs, like a pan-European or Southeast Asian plan, offer convenience for overland expeditions 2026 where you're hopping borders frequently. You buy one plan, and it works in multiple countries. The downside? They can sometimes be more expensive per gigabyte than a dedicated single-country plan, and coverage might vary wildly between countries (I learned this the hard way trying to get signal in rural Laos on a regional plan).
For a trip through just one country, say, Japan, a single-country eSIM is almost always the better bet. You get dedicated local network access, often with better speeds and more reliable coverage. I usually buy a single-country plan if I'm spending more than 5-7 days in one place. If I'm just passing through for a day or two, a regional plan (if I already have one active) or relying on hostel WiFi is usually enough.
How to Spot a Good Deal on an eSIM
Beyond the raw price per GB, look at the network operator. Some eSIM providers partner with premium local carriers, while others use secondary networks with spotty coverage. Always check the listed networks. For example, in Vietnam, I look for plans that use Viettel or Mobifone, as they have the best coverage, especially outside of Ho Chi Minh City or Hanoi.
Also, consider validity periods. A 7-day plan for €5 might seem cheaper than a 30-day plan for €15, but if your trip is 10 days, you'll end up buying two 7-day plans, costing you €10 total. Suddenly, the 30-day plan for €15 looks like better value. Always calculate your usage based on your actual travel duration, not just the lowest price tag.

Step-by-Step: Activating Your eSIM on iPhone 17
Getting your eSIM up and running on your iPhone 17 is straightforward, but it's vital to follow the steps correctly to avoid any data mishaps. I've seen travelers burn through their primary carrier's roaming data because they didn't set it up right, and that's a mistake you only make once.
Pre-Arrival Setup: The Smart Move
The best time to activate your eSIM is before you even leave home. This way, as soon as your plane lands, your phone automatically connects to the local network. No panic, no hunting for WiFi, no stress. Most eSIM providers send you a QR code or manual activation details via email immediately after purchase. I usually save the QR code as an image on my phone or print it out as a backup, just in case my phone internet is down for some reason.
Here's how to add an eSIM to your iPhone 17:
- Go to Settings: Open the 'Settings' app on your iPhone 17.
- Navigate to Cellular/Mobile Data: Tap on 'Cellular' (or 'Mobile Data' in some regions).
- Add eSIM: Tap 'Add eSIM' or 'Add Data Plan'.
- Scan QR Code or Enter Details: You'll usually have two options: 'Use QR Code' or 'Enter Details Manually'. If you have the QR code on another device or a printout, choose the QR code option and scan it. If you're entering manually, input the SM-DP+ Address, Activation Code, and Confirmation Code provided by your eSIM vendor.
- Label Your Plans: This is critical for budget travelers. Once the eSIM is added, your iPhone will ask you to label it. Name it something clear, like 'Thailand Data' or 'Europe Travel'. Also, label your primary home line 'Home (Do Not Use for Data Abroad)'. This helps prevent accidental roaming.
- Choose Default Line: Your iPhone will then ask which line to use for calls, texts, and data. For data, select your new travel eSIM. For calls/texts, you can usually keep your home line as default, but ensure data roaming is OFF for that line.
Post-Landing Configuration: Double-Checking Your Settings
Once you land, your phone should automatically connect. But always, always double-check. Go back into 'Settings' > 'Cellular' (or 'Mobile Data').
- Check Data Roaming: For your home line, ensure 'Data Roaming' is toggled OFF. This is your safety net against exorbitant charges.
- Verify Data Line: Under 'Cellular Data' (or 'Mobile Data Network Selection'), ensure your travel eSIM is selected as the primary line for data.
- Enable Travel eSIM: Make sure the travel eSIM is toggled 'On' under 'Cellular Plans'.
If you're unsure about specific settings or have an edge case, like needing to switch between multiple eSIMs for different countries, check out our guide on Overland Expeditions 2026: The Multi-Country eSIM Handbook for Trailblazers. It covers these advanced scenarios in detail.
Data Consumption: Show Me the Math
Understanding your data usage is the cornerstone of budget travel connectivity. Don't just guess. Monitor it. My rule of thumb is 1GB for every 3-4 days of moderate use (maps, messaging, light social media). If you're heavy on video, triple that.
Here's a breakdown based on my own travel logs from various hostels and night buses:
| Activity | Data Usage (Approx. per hour) | Impact on Budget |
|---|---|---|
| Messaging (WhatsApp, Signal) | 1-5 MB | Minimal |
| GPS Navigation (Google Maps) | 5-10 MB | Minimal |
| Social Media Browsing (Instagram, TikTok) | 100-300 MB | Moderate |
| Music Streaming (Spotify, Apple Music) | 40-150 MB | Low to Moderate |
| Standard Definition Video Streaming | 500 MB - 1 GB | High |
| High Definition Video Streaming | 1.5 GB - 3 GB+ | Very High |
| Video Calls (Zoom, FaceTime) | 300-600 MB | Moderate to High |
Let's say you're traveling for 20 days. If you average 500MB/day (checking maps, WhatsApp, a bit of Instagram), you'll need 10GB total. A 10GB plan for €20 is far better than paying €10-€20 a day for a tiny allowance from your home carrier. This kind of calculation is what keeps my daily budget at €40, not €60.
Tricks to Reduce Data Usage on Your iPhone 17
Every backpacker knows the value of making data stretch. Here are my go-to methods:
- Download Offline Maps: Before you leave the hostel WiFi, download entire regions on Google Maps or Maps.me. This saves huge amounts of data.
- Limit Background App Refresh: In 'Settings' > 'General' > 'Background App Refresh', turn off refresh for apps you don't need constantly updating.
- Disable Auto-Play Videos: Most social media apps have a setting to prevent videos from auto-playing. Find it and turn it off.
- Use WiFi Whenever Possible: Prioritize hostel WiFi, cafe WiFi (even if you just buy a cheap coffee), or airport WiFi for heavy tasks like uploading photos or streaming.
- Low Data Mode: Your iPhone 17 has a 'Low Data Mode' in 'Settings' > 'Cellular' > [Your eSIM] > 'Low Data Mode'. This tells apps to reduce their network data usage.

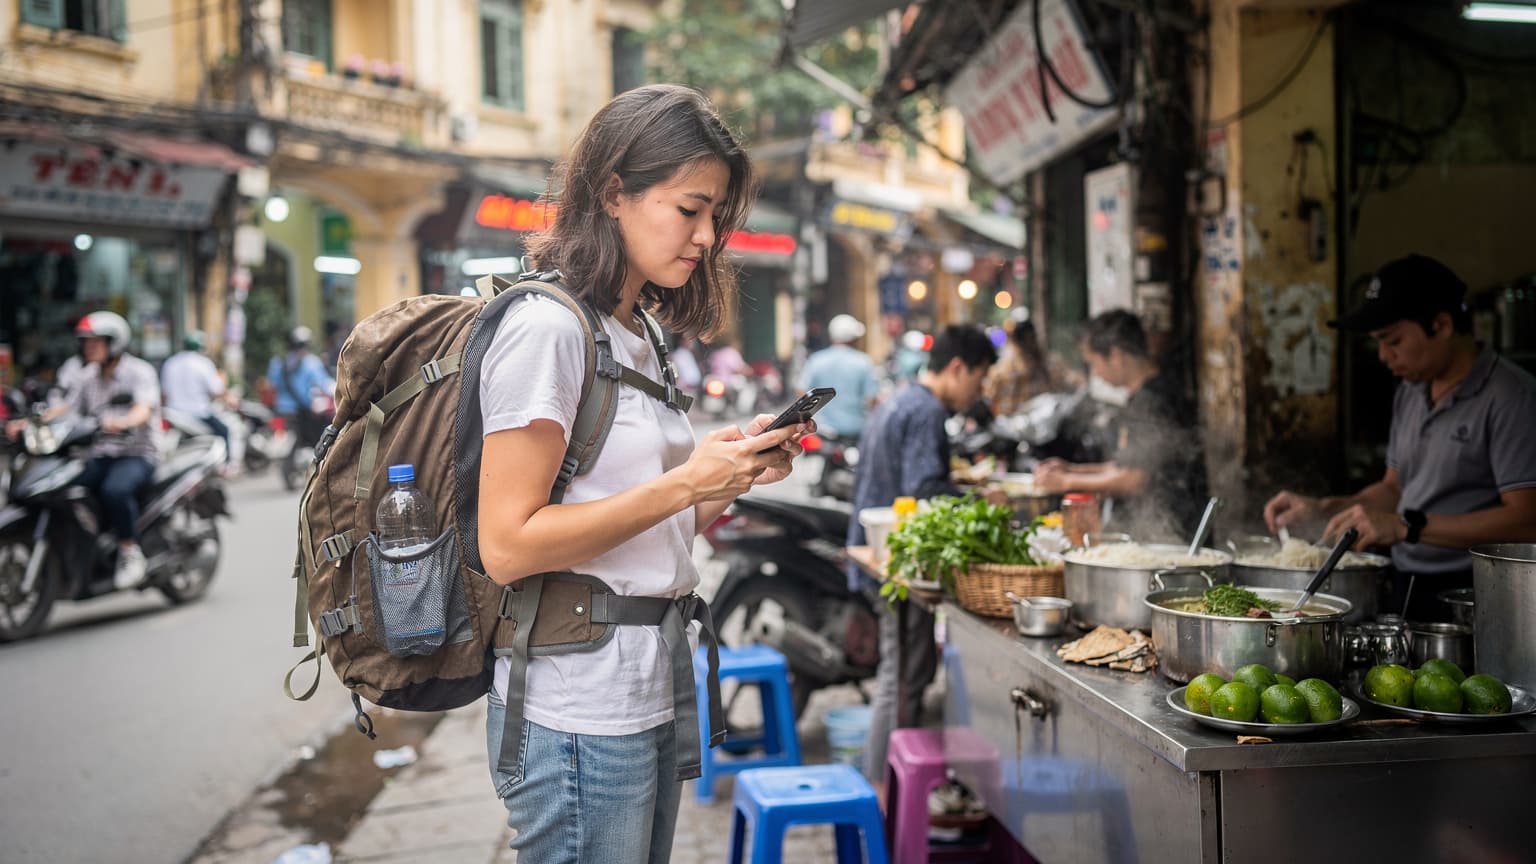
Border-Crossing Tactics and eSIMs
Crossing international borders is where eSIMs truly shine, especially for multi-country trips. I've been stuck at more than one land border with no signal, trying to figure out which bus to take to the next town. With an eSIM, you can often transition seamlessly.
Take, for example, the border crossing from Thailand into Cambodia at Poipet. notorious for scams and general chaos. If you've got a regional Southeast Asia eSIM, you won't lose connectivity as you cross. You can verify your bus information, check Google Maps for your hostel, and avoid getting ripped off by taxi drivers claiming your hotel is 'too far' for the standard fare. If you're planning a similar trip, consider our guide on Bali on a Budget: Your 2026 eSIM Guide to Cutting Data Costs, as many of the principles apply to multi-country travel in the region.
Activating Multi-Country eSIMs
For extensive trips like those through Europe or Southeast Asia, a multi-country eSIM makes sense. You buy one plan, and it activates across multiple supported countries. Before your trip, download the eSIM profile. As you cross borders, your iPhone 17 will automatically detect the local partner network and switch over. Sometimes you need to manually select a network operator in your settings, but usually, it's plug-and-play. This avoids the frantic search for a new SIM card every few days, saving precious travel time and sanity.
For instance, an eSIM for Europe might cover France, Germany, Italy, and Spain. When I traveled from Germany to Austria by train, my phone switched networks without me lifting a finger, allowing me to continue checking train schedules and sending updates to my travel buddies. No interruption, no extra cost.
Handling Border Towns with Dual-SIM Active
Some border towns are tricky. You might still be physically in one country but picking up a signal from the next. With your iPhone 17, you can have both your home eSIM (data roaming off, remember?) and your travel eSIM active simultaneously. This means you can still receive calls or texts on your home number, which is useful for banking or two-factor authentication, while your data is routed through the travel eSIM.
It's all about managing your 'Cellular Plans' in settings. You can designate which line is for 'Cellular Data' and which is for 'Voice & SMS'. This flexibility is what separates the budget hacker from the tourist who gets hit with a surprise €50 roaming bill just for stepping across a border for an hour.
Local SIM Card Alternatives and Why eSIM Wins Out
Let's be fair, traditional local physical SIM cards still exist, and sometimes they can be marginally cheaper for specific, long-term, single-country stays. For example, if you're spending three months in Thailand, a true local SIM from AIS or TrueMove H, bought directly from a shop in Bangkok's MBK Center, might offer slightly better value per GB than a short-term travel eSIM. You might snag 100GB for ฿500 (around €13), which is tough to beat. However, this comes with its own set of headaches.
- Time Investment: You have to find a store, wait in line, present your passport, register the SIM, and then deal with the potential language barrier. This can eat up half a day of your precious travel time.
- Activation Hassles: Sometimes local SIMs need specific APN settings or SMS activation, which can be a pain if you're not fluent in the local language.
- Security: Handing over your passport details to a small, independent shop always carries a slight risk.
- Single Country: As soon as you cross a border, that cheap local SIM is useless.
For most backpackers, especially those on shorter trips (under a month) or who are country-hopping, the convenience, flexibility, and immediate connectivity of an eSIM far outweigh any marginal cost savings from a physical local SIM. Your time and peace of mind are worth something, too.

Comparing eSIM vs. Physical SIM for the Frugal Traveler
| Feature | eSIM (on iPhone 17) | Local Physical SIM | Home Carrier Roaming |
|---|---|---|---|
| Ease of Purchase | Online, pre-trip | In-country store, post-arrival | Automatic, but expensive |
| Activation Time | Minutes (QR code scan) | 30-60 minutes (store visit, registration) | Instant |
| Cost per GB | Low to Moderate (€1-€3/GB) | Very Low (€0.50-€2/GB) | Very High (€5-€20/GB or daily fee) |
| Multi-Country Use | Excellent (regional plans) | Poor (country-specific) | Good (but costly) |
| Keeping Home Number | Yes (dual SIM active) | No (if single SIM slot) | Yes |
| Environmental Impact | Minimal (no physical waste) | Moderate (plastic card waste) | Minimal |
From a purely financial standpoint, the local physical SIM might edge out an eSIM on raw price per GB for certain long-term scenarios. But when you factor in the value of your time, the convenience, and the flexibility of managing everything from your iPhone 17's settings, eSIMs win handily for the vast majority of budget travelers. It's not just about the cheapest price, but the best value for your overall travel experience.
The Future of Travel Connectivity with eSIMs
The iPhone 17 clearly signals Apple's continued commitment to eSIM technology. As more devices become eSIM-only, the ecosystem of eSIM providers and plans will only grow, leading to more competitive pricing and better options for travelers. We're already seeing this trend. Just five years ago, finding reliable eSIMs was a chore. Now, you can buy plans for almost any country from reputable providers in minutes.
This means more power to the traveler. You dictate your data needs, you choose your plan, and you control your budget. The days of being at the mercy of greedy home carriers are rapidly coming to an end, and your iPhone 17 is at the forefront of this shift.
Common Pitfalls and How to Dodge Them
Even with the convenience of eSIMs, there are still ways to mess up and spend more than you need to. I've made these mistakes, so you don't have to.
The Roaming Trap
This is the most common and most expensive mistake. You activate your travel eSIM, but you forget to turn off data roaming for your home line. Your phone defaults to whatever network it can find, and if your home carrier has a roaming agreement, it will silently start racking up charges. I once spent €80 in two days in Thailand because I forgot this step. I thought I was on my local plan, but my main line was still active for data.
Solution: As mentioned, go to 'Settings' > 'Cellular' > [Your Home Line] and toggle 'Data Roaming' OFF. Do this before you even leave your home country's WiFi.
Underestimating Data Needs
You buy a 3GB plan for a two-week trip, thinking you're savvy. Then you're stuck in a hostel in Pamplona for San Fermín 2026 with no WiFi, trying to upload videos to Instagram, and you burn through your data in three days. Now you have to buy a top-up, which is often more expensive per GB than a larger initial plan.
Solution: Overestimate, don't underestimate. It's usually cheaper to buy a slightly larger plan upfront. If you're going for 10 days, and you usually use 300-500MB/day, get a 5GB plan, not 3GB. Also, use the data monitoring features on your iPhone 17 to track usage.
Ignoring Expiry Dates
Some eSIM plans have short validity periods, like 7 or 15 days. If your trip is longer, you might find yourself without data mid-trip. I saw a traveler in Kyoto scrambling to buy a new eSIM because his 7-day plan expired on day 8 of his Korea trip. Panic ensued.
Solution: Always match the eSIM's validity period to your trip duration, plus a buffer of a few days. If your trip is 12 days, get a 15-day plan.
Poor Network Coverage
You bought the cheapest eSIM for a country, only to find it connects to a secondary network with terrible coverage, especially outside major cities. Navigating through rural Ireland on the Wild Atlantic Way becomes a nightmare when your map won't load.
Solution: Read reviews of eSIM providers, and specifically check which local network operators they partner with. Prioritize providers that use major, well-established carriers in the destination country.
Maintaining Your Budget on the Go
The iPhone 17 with its eSIM capability is a powerful tool for staying connected cheaply, but it's just one part of a larger budget-travel strategy. Connectivity costs add up, and every euro saved here can be spent on an extra night in a hostel or a delicious street food meal.
My philosophy is simple: minimize fixed costs. Data is a fixed cost if you're not careful. By switching to eSIMs, you turn a potentially variable, high cost (roaming) into a predictable, low cost (pre-paid data plans). This predictability is what allows me to stick to my €40/day budget in places like Vietnam or Colombia.
Beyond just data, think about how your phone habits impact your overall spend. Relying on WhatsApp for calls instead of international calling plans, using offline maps to avoid data drain, and leveraging free hostel WiFi for larger downloads are all part of the game.

eSIM Best Practices for the Savvy Traveler
- Purchase Before You Fly: Always buy and activate your eSIM before you depart. This means you're connected the moment your wheels touch down.
- Dual SIM Management: Leverage your iPhone 17's dual SIM capabilities. Keep your home number for important calls/texts, but ensure its data roaming is OFF. Route all data through your travel eSIM.
- Monitor Data Usage: Regularly check your data consumption in your iPhone settings. This helps you know when to top up or adjust your usage habits.
- Research Local Carriers: Before buying an eSIM, do a quick search on the best local mobile network operators in your destination country. Then, pick an eSIM provider that partners with them.
- Consider Regional Plans for Multi-Country Trips: If you're hitting multiple countries, a regional eSIM can save you from buying individual plans for each border crossing.
The iPhone 17 is more than just a phone; it's a travel companion that, when used smartly with eSIMs, can drastically reduce your connectivity costs. Don't let your travel budget get eaten alive by outdated roaming fees. Embrace the eSIM, stay connected, and keep those euros for experiences, not bills.
Frequently Asked Questions
Can I use my iPhone 17 abroad without an eSIM?
Yes, you can, but it will likely be very expensive. Your home carrier will charge you international roaming fees, which can quickly add up to €10-€20 per day or more. An eSIM offers a far more affordable alternative for data.
How many eSIMs can an iPhone 17 hold?
The iPhone 17 can store multiple eSIM profiles, typically around 8-10, though only two can be active simultaneously (e.g., your home line and a travel data line). This allows you to switch between different plans as you travel.
Will my home number still work if I use an eSIM for data on my iPhone 17?
Yes, absolutely. With your iPhone 17's dual SIM functionality, you can keep your home number active for calls and texts while using a separate eSIM for all your data. Just ensure data roaming is off for your home line.
Is it better to buy a regional eSIM or individual country eSIMs for a multi-country trip?
It depends on your trip length and countries. Regional eSIMs offer convenience for short stays in multiple countries (e.g., 2-3 days per country). For longer stays (5+ days) in a single country, a dedicated country-specific eSIM often provides better value and coverage.
What if I run out of data on my eSIM plan?
Most eSIM providers offer easy top-up options directly through their app or website. You can purchase additional data or extend your plan's validity quickly, often in just a few taps on your iPhone 17.
What is the cheapest way to get data for my iPhone 17 when traveling?
The cheapest way is often a local physical SIM card bought in-country for long stays (1+ month), but this requires time and effort. For most travelers, a pre-purchased eSIM offers the best balance of low cost, convenience, and immediate connectivity upon arrival, saving significantly over roaming.