eSIM Compatibility: What to Look For on Your Android
Before we dive into the wonderful world of affordable data plans, let's address the elephant in the room: is your specific Android phone even capable of handling an eSIM? It's a valid question, especially when you're rocking a device that's been faithfully serving you for a few years, perhaps purchased for its excellent camera or battery life rather than its bleeding-edge connectivity features.
Many people assume eSIM technology is exclusive to the latest, most expensive flagship phones, the ones that cost more than a small used car. Thankfully, that's not the case anymore. While it's true that early adoption was seen in premium models, eSIM has become increasingly standard across a wider range of Android devices, including many mid-range and even some budget-friendly options released in the last few years.
How to Check for eSIM Support
The easiest way to confirm eSIM compatibility on your Android phone is to check the device settings. This process can vary slightly depending on your phone's manufacturer and Android version, but generally, you're looking for an option related to 'SIM cards' or 'Network & Internet'.
- Open Settings: Swipe down from the top of your screen and tap the gear icon, or find 'Settings' in your app drawer.
- Navigate to Network Settings: Look for 'Network & Internet', 'Connections', or 'Mobile network'.
- Find SIM Card Manager: Within the network settings, search for 'SIM card manager', 'SIM & network', or similar.
- Look for 'Add eSIM' or 'Download a SIM': If you see an option like 'Add eSIM', 'Download a SIM', 'Add mobile plan', or 'Convert to eSIM', then congratulations, your phone is eSIM-compatible! If you only see options for physical SIM cards, your device likely doesn't support eSIM.
If you're still unsure, a quick online search for "[Your Phone Model] eSIM compatibility" will usually yield definitive results. For example, 'Samsung Galaxy A53 eSIM compatibility' or 'Google Pixel 4a eSIM support'. Remember, even if your phone isn't the absolute latest model, it might still surprise you with its capabilities.
Understanding eSIM vs. Physical SIM
At its core, an eSIM is simply a digital SIM card, embedded directly into your phone's hardware. Instead of swapping out a tiny piece of plastic, you download a 'profile' onto this embedded chip. This means you can have multiple mobile plans stored on your device and switch between them with a few taps, which is a lifesaaving feature for a parent juggling travel plans for the whole family.
For us family travel planners, this is a game-changer. No more fumbling with tiny SIM trays at an airport kiosk while simultaneously trying to keep two over-tired kids from running off. You can literally activate a data plan for South America from your living room before you even leave. It also means you can keep your home physical SIM active for calls and texts, while using the eSIM for data abroad, ensuring you won't miss any important school notifications or, more realistically, your parents' frantic calls about the kids.
Why Your Budget Android is Perfect for eSIM Travel
You might be thinking, "Why bother with an eSIM on my older phone when I could just upgrade?" And I hear you. The allure of a shiny new gadget is strong. But as a seasoned family traveler and budget hacker, I've learned that sometimes the best tech is the tech you already own, especially when it saves you money without compromising on essential functionality.
Budget Android phones, by their very nature, are designed for practicality and cost-effectiveness. When you combine that with the benefits of eSIM, you create a powerful, affordable travel companion. You're not just saving money on the phone itself, but also on how you connect while abroad.
Cost Savings Beyond the Device
The most obvious benefit is avoiding the hefty price tag of a new flagship phone. But the savings extend far beyond that. Traditional international roaming charges can be exorbitant. I once saw a friend pay €18 a day for basic data in Montenegro, and that was just for *her* phone. Imagine that multiplied by two parents and two kids with iPads constantly needing a top-up for Disney+ on a long car ride. My heart rate just spiked thinking about it.
With an eSIM, you can purchase local data plans at a fraction of the cost of roaming, or even compared to some expensive international passes like those offered by T-Mobile. This means more money for gelato, museum tickets, or that extra hour at the theme park (because, let's be honest, that's where the real budget goes). It's also worth checking out mobile data costs by region before you go to get an idea of potential savings.

Reliable Connectivity for the Whole Family
One of my biggest obsessions as a family travel planner is ensuring everyone stays connected, within reason. This isn't just for my sanity (though that's a huge part of it), but for safety and convenience. Whether it's looking up directions to the nearest public restroom, translating a menu, or, yes, keeping the kids entertained with their pre-loaded apps on a long train journey, data is king.
A reliable eSIM connection on your Android means you can:
- Keep tabs on your children's devices: Many parental control features, like Google Family Link or Apple's Screen Time, require an active internet connection to monitor usage, set time limits, or locate devices. With a dedicated eSIM, you can ensure these controls remain active.
- Stream entertainment without breaking the bank: My kids, bless their hearts, treat every car, train, or plane ride as an excuse for a Disney+ marathon. Having a data plan sized for 2 kids streaming Disney+ (which, let's be honest, is usually around 5-10GB per child per day for standard definition) means I'm not constantly badgering them to turn off their iPads because the hotel Wi-Fi is spotty or our roaming charges are skyrocketing.
- Utilize offline maps and translation apps: While many apps like Google Maps allow you to download maps for offline use, real-time traffic updates or quick searches for nearby attractions still need data. Having an active eSIM on your Android ensures you're never truly lost.
- Stay connected in unexpected places: Cruise ships and theme parks can be notorious for patchy or expensive Wi-Fi. Many modern eSIM providers offer plans that work well in these environments, ensuring that even if little Timmy gets separated from the group at Epcot, you can still communicate.
The beauty of the eSIM on your budget Android is that it provides this essential connectivity without forcing you into an expensive hardware upgrade. It's about smart travel, not just spending less.
Pre-Trip Prep: Getting Your Android Ready for eSIM
As any seasoned parent knows, thorough preparation is the key to a smooth trip. This applies doubly to your tech. Getting your Android device ready for eSIM activation before you even leave home will save you a world of stress and potential headaches later. Trust me, you don't want to be troubleshooting network settings at 2 AM in a foreign hotel lobby with a toddler screaming in the background.
Unlocking Your Device: A Prerequisite
This is perhaps the most crucial step. For an eSIM to work with any provider other than your home carrier, your Android phone must be 'unlocked'. A locked phone means it's restricted to a specific network, usually the one you bought it from, and won't accept SIMs or eSIMs from other carriers.
How to check if your phone is unlocked:
- Check with your carrier: The most straightforward way is to call your current mobile provider and ask. They can tell you if your phone is locked and what the requirements are for unlocking it.
- Try a different SIM: If you have access to a physical SIM card from a different carrier (a friend's, an old one), pop it into your phone. If it connects to that network, your phone is likely unlocked. If it gives an error message like "SIM not supported" or "Network locked," it's locked.
Most carriers will unlock your phone once your contract is fulfilled or after a certain period, sometimes for a fee. It's always best to do this well in advance of your trip.
Downloading Essential Apps Offline
Before you take off, make sure all those critical apps are downloaded and updated. This includes anything from Google Maps offline regions, language translation apps like Google Translate, to, crucially, all the kids' favorite streaming apps (Disney+, Netflix, YouTube Kids) and games (Minecraft, Roblox). Nothing burns through data faster than an app update or a fresh download on a limited plan.
Pro-tip for kid devices: I always make sure the kids' iPads and Switches are fully updated and loaded with content while we're still on strong home Wi-Fi. This means downloaded movies and shows on their streaming apps, and all game updates complete. It saves me from having to tether my phone, which eats into my data plan, or dealing with meltdowns when their favorite game won't load in the middle of nowhere. Also, remember to check our FAQ for more details on data usage for popular apps.
Activating Your eSIM on Android: A Step-by-Step Guide
You've checked compatibility, unlocked your phone, and pre-loaded all the necessary entertainment. Now comes the exciting part: activating your eSIM. The process is surprisingly simple, especially if you have a stable Wi-Fi connection when you start (which you should, since you're still at home or at the airport lounge, right?).
Purchasing Your eSIM Plan
First, you'll need to purchase an eSIM plan. There are many providers offering various data packages for different regions and countries. When choosing, consider:
- Data allowance: How much data do you realistically need? Remember, two kids streaming on separate devices can chew through data faster than a pack of hungry wolves through a picnic basket. If you're going to Canada for a week, a 20GB plan might just cover your Google Maps, social media, and a few hours of kid streaming per day.
- Validity period: How long will you be traveling? Ensure the plan covers your entire trip duration.
- Coverage: Does the provider offer reliable service in your specific destinations?
Once you've made your purchase, you'll typically receive an email with a QR code or manual activation details. This is your golden ticket to connectivity.
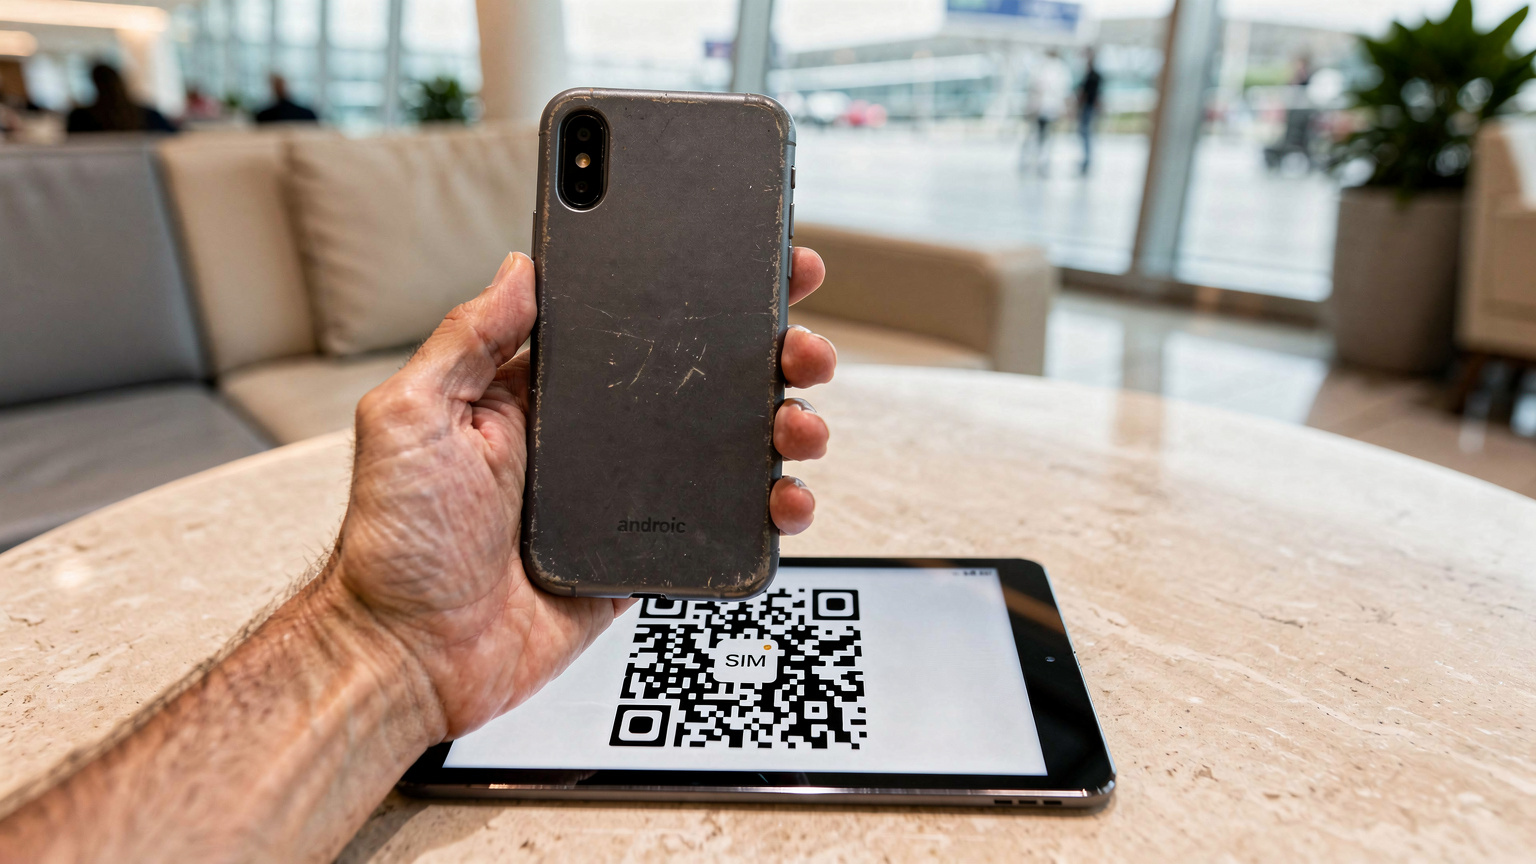
The QR Code Scan Method (The Easiest Way)
Most eSIM providers, including us, offer QR code activation because it's the quickest and most foolproof method. Here's how to do it on your Android:
- Ensure you have a Wi-Fi connection: You need internet access to download the eSIM profile.
- Open Settings: Go to 'Settings' > 'Network & Internet' (or 'Connections') > 'SIM card manager' (or 'Mobile network').
- Tap 'Add eSIM' or 'Download a SIM': This will usually prompt you to scan a QR code.
- Scan the QR code: Use your phone's camera to scan the QR code provided by your eSIM vendor (either on another device, a printout, or a screenshot if you have a secondary display).
- Follow the on-screen prompts: Your phone will guide you through adding the mobile plan. You might be asked to name the eSIM (e.g., "Mexico Travel" or "Kids' Data"), which is incredibly helpful for distinguishing it from your home SIM.
- Activate and switch: Once installed, you can choose to turn on the eSIM and set it as your preferred option for mobile data. Keep your home SIM active for calls if you wish!
Manual Activation (When QR Codes Aren't an Option)
Sometimes, scanning a QR code isn't feasible, perhaps if you're only traveling with one device, or if the QR code isn't displaying correctly. In these cases, manual activation is your backup plan.
- Retrieve manual details: Your eSIM provider will supply activation codes, usually an SM-DP+ Address and an Activation Code. Copy these carefully.
- Open Settings: Navigate to 'Settings' > 'Network & Internet' > 'SIM card manager' > 'Add eSIM'.
- Choose 'Enter it manually': Instead of scanning the QR code, select the option to enter details manually.
- Input the information: Carefully type or paste the SM-DP+ Address and Activation Code into the respective fields. Double-check for typos!
- Complete setup: Follow the remaining on-screen prompts to finish the installation and activate your new eSIM plan.
Even if it feels a little daunting the first time, I promise it gets easier. I've done this dozens of times, sometimes in the most chaotic environments, and it always works out.
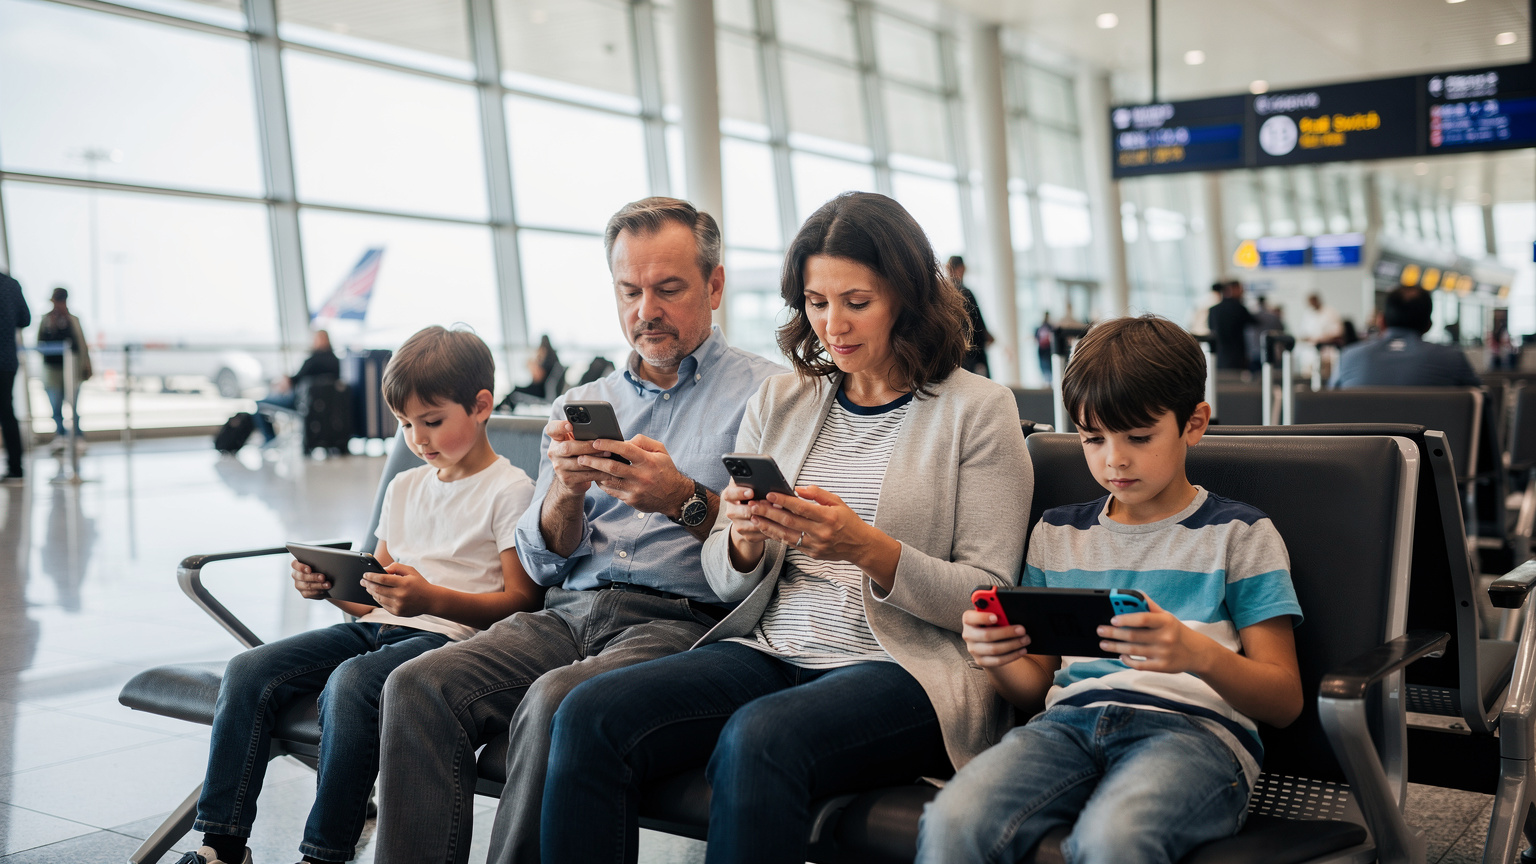
Managing Data and Devices: The Family Traveler's Playbook
With an eSIM active on your budget Android, you're not just connected, you're in control. For family travelers, this means being able to manage data usage across multiple devices and ensuring everyone's needs are met without hitting unexpected data caps or incurring extra charges. It's about smart resource allocation, just like making sure everyone gets a fair share of the last chocolate croissant.
Setting Data Limits and Monitoring Usage
One of the best features of Android is its robust data management tools. You can set daily or monthly data limits for your eSIM line, helping you stay within your purchased allowance. This is particularly useful when you've got data-hungry apps or shared plans.
- Go to Data Usage Settings: 'Settings' > 'Network & Internet' > 'Mobile network'. Select your eSIM profile.
- Set a Data Warning: You can set a warning to notify you when you're nearing your limit, perhaps 80% of your allowance.
- Set a Data Limit: This will automatically turn off mobile data for that eSIM once the limit is reached, preventing overage charges. This is your best friend when you have multiple devices tethered.
I find it incredibly helpful to set a slightly conservative data limit, say 80% of my total allowance. This gives me a buffer and prevents any nasty surprises. When I get the warning, I can reassess: do we really need another episode of Bluey, or can we switch to an offline game?
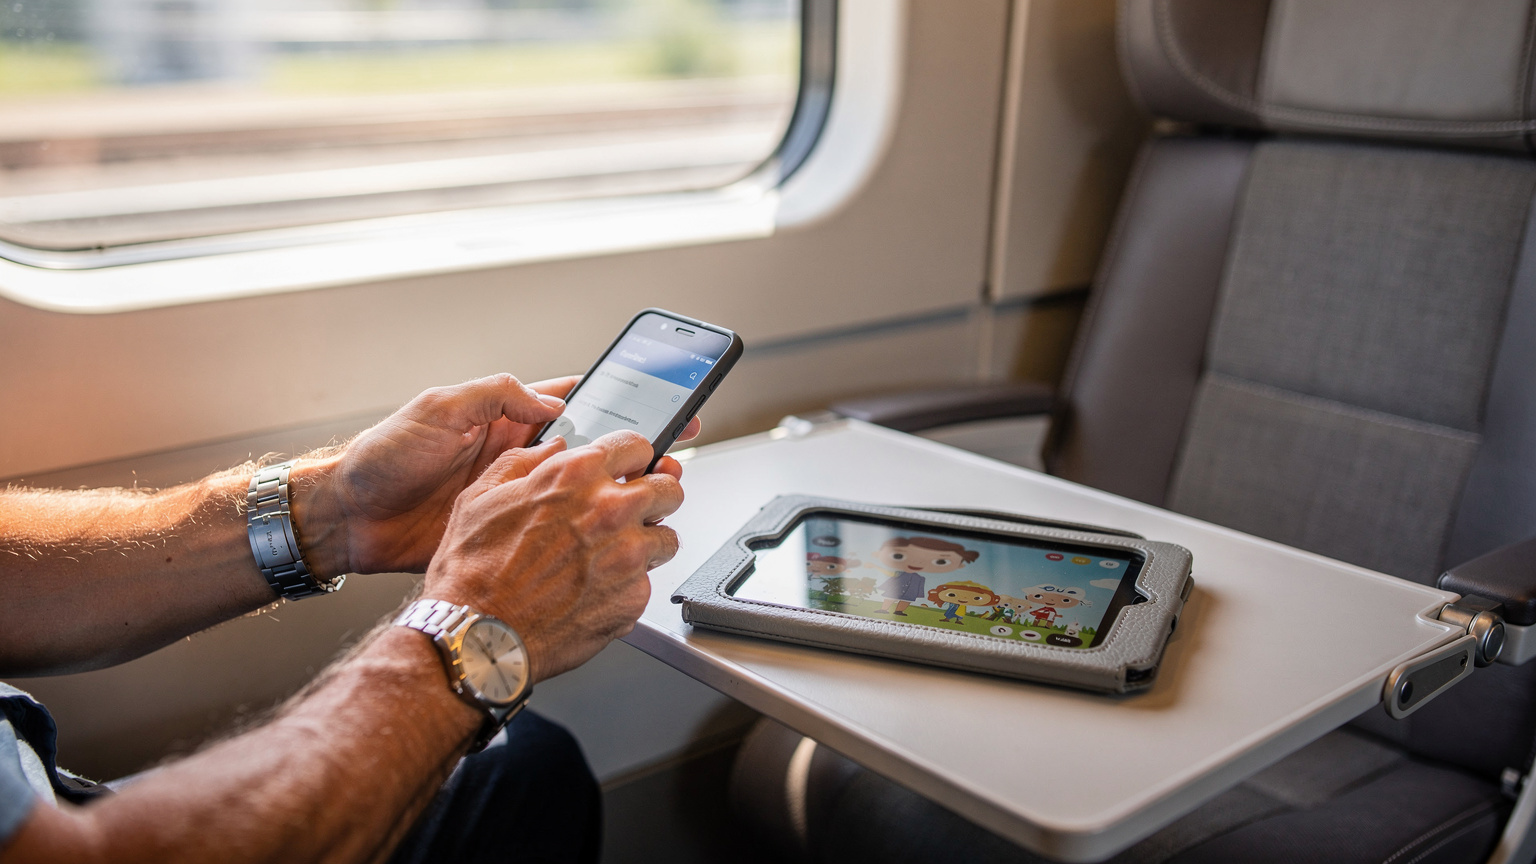
Tethering and Hotspot for Kids' Devices
Your Android phone with an active eSIM can become a mobile hotspot, sharing its data connection with other devices, like your kids' iPads or even a Nintendo Switch for online gaming (though I usually save that for strong Wi-Fi connections). This is where having that generous data plan for two kids streaming really pays off.
To activate a mobile hotspot:
- Go to Hotspot & Tethering: 'Settings' > 'Network & Internet' > 'Hotspot & tethering'.
- Turn on Wi-Fi Hotspot: Configure the network name (SSID) and password.
- Connect other devices: On the kids' devices, simply connect to this new Wi-Fi network like any other.
Keep in mind that using your phone as a hotspot can drain its battery quickly. Always have a portable power bank handy, especially for long travel days. A tired phone battery is almost as bad as a child's tired battery.
Parental Controls and eSIM
One common concern is how parental controls interact with eSIMs. The good news is that most parental control features, like app usage limits or content filters, work at the device level, not the network level. This means they'll function whether your child's device is connected via Wi-Fi, your home physical SIM, or your new travel eSIM.
However, if you're using parental control features that rely on network-level filtering or monitoring (less common for individual devices but sometimes offered by specific carriers), you'll need to confirm compatibility with your chosen eSIM provider. For most parents using standard app-based controls like Google Family Link, you won't encounter any issues, as long as there's an active data connection. And remember, keeping your WhatsApp number is easy, no matter your data setup.
Common Pitfalls and How to Sidestep Them
Even with the best planning, travel can throw curveballs. And tech, bless its heart, occasionally decides to be uncooperative at the least opportune moment. Knowing the common pitfalls with eSIMs on Android devices can help you proactively avoid them, or at least troubleshoot quickly when they arise.
Troubleshooting Activation Issues
Sometimes, the eSIM just won't activate. It happens. Don't panic. Take a deep breath (and maybe bribe the kids with an extra snack).
- No Wi-Fi during activation: This is a big one. You MUST have an active internet connection to download the eSIM profile. If you're stuck, find the nearest café with free Wi-Fi or use your home SIM's data if you haven't turned it off yet.
- Incorrect manual entry: Typos happen. If you're manually entering the SM-DP+ Address and Activation Code, double, no, triple-check every character. One misplaced letter or number can prevent activation.
- Phone not unlocked: We covered this, but it's worth reiterating. If your phone is locked to your home carrier, no eSIM from another provider will work. Ensure it's unlocked before you leave.
- Old Android version: While many budget Androids support eSIM, very old devices (typically pre-2018 models) might not. Ensure your Android OS is reasonably up-to-date.
When in doubt, restart your phone. The classic tech solution often works wonders. If the problem persists, contact your eSIM provider's support team. They're usually very good at walking you through solutions.
Data Draining Faster Than Expected
Ah, the dreaded data drain. You swore you bought enough, but suddenly you're getting warnings. This is often not an eSIM issue, but a usage issue, especially with kids involved.
- Background app refresh: Many apps refresh and update in the background, consuming data without you realizing it. Go into your phone's settings and restrict background data for non-essential apps. For kids' devices, this is particularly important for games or apps they aren't actively using.
- Streaming quality: High-definition streaming eats data significantly faster than standard definition. Check the settings in apps like Disney+ or Netflix on your kids' devices and set them to standard or even low quality when on mobile data. They won't notice the difference on a small screen, I promise.
- Automatic updates: Ensure app updates and system updates are set to Wi-Fi only. A large OS update downloading over mobile data can decimate your plan.
- Tethering other devices: If you're using your Android as a hotspot, be mindful of what the connected devices are doing. If your teenager is uploading a thousand photos to Instagram, your data will vanish.
| App/Activity | Estimated Data Usage (per hour) | Tips for Saving Data |
|---|---|---|
| Standard Definition Streaming (Disney+, Netflix) | 0.7 - 1.5 GB | Download content offline before travel, set streaming quality to 'standard' or 'low'. |
| High Definition Streaming | 3 - 7 GB | Avoid entirely on mobile data if possible, save for strong Wi-Fi. |
| Video Calls (Zoom, WhatsApp) | 0.3 - 1 GB | Use Wi-Fi for longer calls, turn off video if only audio is needed. |
| Social Media Browsing (scrolling with videos) | 0.1 - 0.5 GB | Restrict background app refresh, avoid auto-playing videos. |
| Online Gaming (e.g., Roblox, Switch Online) | 0.05 - 0.2 GB | Use Wi-Fi for large game updates, play offline games when possible. |
| Navigation (Google Maps) | 0.005 - 0.02 GB | Download offline maps for your destination! This is a lifesaver. |
Top eSIM Providers for Budget Android Users in 2026
Navigating the world of eSIM providers can feel a bit like wading through a sea of options. But for a family traveler with a budget Android, the criteria narrow down quickly: reliability, clear pricing, and good coverage. You want a provider that makes it easy to get connected, without hidden fees or complicated activation processes.
What to Look for in an eSIM Provider
When selecting your eSIM plan, keep these points in mind, especially if you're traveling with demanding mini-humans:
- Transparent pricing: No one likes surprises, especially when it comes to money. Look for providers with clear upfront costs and no hidden activation fees or daily charges.
- Flexible plans: Do they offer plans that match your travel duration and data needs? Some offer regional plans, which are fantastic if you're hopping between countries in, say, South America or Southeast Asia.
- Good customer support: If something goes wrong, you want to be able to reach a human quickly. Check reviews for responsiveness.
- Easy top-ups: If you burn through your data faster than anticipated (thanks, kids!), can you easily add more data to your existing plan?
| Provider Feature | Description | Benefit for Budget Android Users |
|---|---|---|
| Global/Regional Plans | Offers data plans covering multiple countries or entire continents. | Convenient for multi-country trips, often more cost-effective than individual country plans. |
| Flexible Data Packages | Variety of data amounts (e.g., 1GB, 5GB, 20GB) and validity periods (7 days, 30 days). | Tailor a plan to exact needs, avoiding overpaying for unused data or running out too quickly. |
| Transparent Pricing | Clear, upfront costs with no hidden fees, taxes, or daily charges. | Budget predictability, crucial for family travel expenses. |
| Easy Top-Up Options | Ability to quickly and easily add more data to an existing plan if needed. | Prevents mid-trip connectivity panic, especially when sharing data with kids' devices. |
| Reliable Network Partners | Partnerships with major local mobile networks for strong coverage and speeds. | Ensures consistent service, even in theme parks or rural areas, for essential navigation and entertainment. |
| Customer Support Availability | Responsive and helpful support via chat, email, or phone. | Peace of mind for troubleshooting, particularly when in a different time zone. |
Why Many Travelers Choose Reputable eSIMs
Many experienced travelers, myself included, gravitate towards reputable eSIM providers for their predictable service and global reach. They often offer a wide array of plans suitable for various travel styles, from a weekend getaway in Israel to a month-long backpacking trip across Asia.
What stands out about these services is the sheer variety of data plans and their reliable network partnerships. Whether you need a small data package for quick map checks and WhatsApp messages, or a larger plan to keep a couple of kids happily streaming their favorite shows (because a quiet child is a gift from the travel gods), you'll find options. Plus, their apps often make it incredibly easy to monitor your data usage, which is essential when managing a shared plan for the whole family.
The Future of eSIM on Android: What's Next for Your Device
The tech world moves at a dizzying pace, but for us practical travelers, it's about what genuinely improves our experience without demanding constant upgrades. The good news is that the future of eSIM on Android devices looks bright, with a clear trend towards greater accessibility and improved features, even for those of us who prefer to get more mileage out of our existing phones.
Broader Device Compatibility
As eSIM technology matures, it's becoming standard not just in flagship phones, but in an increasing number of mid-range and budget Android devices. This means that year by year, more and more older models will join the ranks of eSIM-compatible phones, making global connectivity more accessible to everyone.
Manufacturers are realizing that eSIM is a major selling point, not just for international travelers, but for anyone who wants the flexibility of managing multiple phone numbers or data plans on a single device. This push will only make it easier to find a budget Android that supports eSIM, expanding your options without breaking the bank.
Enhanced Features and User Experience
Expect to see improvements in how Android handles eSIMs, making the user experience even more seamless. This could include:
- More intuitive management: Simplified interfaces for switching between eSIMs, monitoring data usage, and topping up.
- Dual eSIM support: While many phones support one physical SIM and one eSIM, some newer devices are starting to offer dual eSIM capabilities, allowing you to run two eSIMs simultaneously without needing a physical SIM at all.
- Better integration with travel apps: Imagine an eSIM provider that integrates directly with your travel itinerary app, automatically suggesting plans for your next destination. A parent can dream, right?
These advancements will only solidify the budget Android phone's position as a smart travel companion. You won't need the latest and greatest to enjoy the benefits of cutting-edge connectivity, just a reliable device and a smart data plan.
So, next time you're planning a trip, don't automatically assume your faithful Android isn't up to the task. With an eSIM, it's more capable than you think, ready to keep your family connected, entertained, and your wallet happy, no matter where your adventures take you.
Frequently Asked Questions
Can my old Android phone use an eSIM?
Yes, many older or budget Android phones released in the last few years are eSIM compatible. You can check this in your phone's 'Settings' under 'Network & Internet' or 'Connections' by looking for an 'Add eSIM' or 'Download a SIM' option. It's not just a feature for new, expensive models anymore.
What are the main benefits of using an eSIM on a budget Android for family travel?
The primary benefits for family travel include significant cost savings on international data compared to roaming, easy management of multiple data plans, and reliable connectivity for kids' devices. This ensures you can use essential apps like offline maps, stream entertainment, and maintain parental controls without financial surprises.
How much data do I need for my kids streaming on a trip?
For two kids streaming standard-definition video on apps like Disney+ or Netflix, you should budget at least 5-10GB per child per day. High-definition streaming can consume significantly more. It's always best to download content offline before your trip and set streaming quality to 'standard' on mobile data to conserve usage.
Will parental controls still work with an eSIM?
Generally, yes. Most parental control features, such as app usage limits or content filters (e.g., Google Family Link), operate at the device level and only require an active internet connection. As long as your eSIM provides data, these controls should function normally on your children's devices.
What if my phone is locked to my home carrier?
If your Android phone is locked to your home carrier, it will not accept an eSIM from another provider. You must contact your current carrier to unlock your device before attempting to activate a travel eSIM. This is a crucial step to do well in advance of your trip.
Can I use my Android phone as a hotspot with an eSIM?
Absolutely! Your Android phone with an active eSIM can be used as a mobile hotspot to share its data connection with other devices, like tablets or laptops. This is ideal for keeping kids' devices connected for entertainment or online learning during travel, but remember to monitor data usage and battery life.